If you want to install your gym floor yourself, please follow the guidelines below to ensure a smooth installation, and to extend the life of your product.
Too complicated? We can do it for you.
Ask for a free quotation for your gym floor installation:
The floor covering should be unstacked from the pallet before laying and stored 1-2 days where it will be laid. This is to allow the material to contract / expand to its final form before installation.
The specialty 2-components PU adhesive uses 700 g to cover one square meter (700g/m2 or 90 s.f.). Can be used indoor or outdoor.
All substrates made of asphalt, concrete and poured screed are suitable for the installation. The substrate must be solid, leveled, dry, clean and free of cracks and of dust who can affect adhesion.
Since you’re using glue, you’ll also want to be sure that your subfloor is dry and free of moisture.
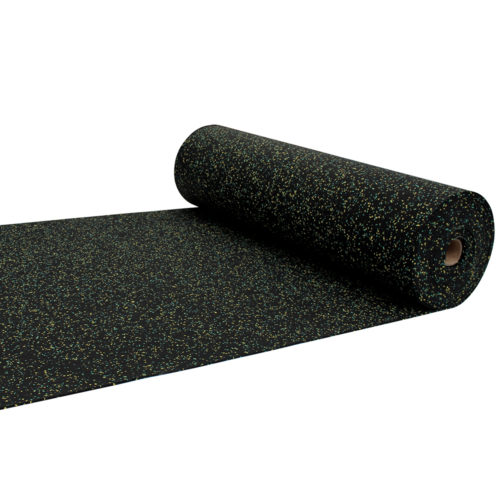
Lay out the rolls in the room as you would like them to look after a complete installation. (The rolls can be directional so make sure the color matches on each rolls). Make any necessary cuts to the rolls to fit them into the room using a Straight Edge and a Utility Knife. After you have the rolls laid out the way you want, roll them back up to one end of the room.
If using a 2 parts glue, mix both components of adhesive. Directly after mixing, start pouring the glue out evenly over the prepared installation area.
Apply the glue evenly with a toothed spatula with teething recommended by the adhesive manufacturer. Be mindfull of adhesive setting time.
Put down a 10 foot long light layer of adhesive and unroll 10 feet of the rubber flooring into the adhesive at a time. Repeat this step for every 10 feet of roll length until the entire roll has been glued to the floor.
Remove any glue leak from the surface immediately, and clean affected area quickly.
After gluing the rubber on the floor, before adhesive is completely hardened, apply contact pressure to the surface with a 100-pound carpet roller to eliminate air bubbles underneath the material and make be sure the rubber has adhered tightly to the glue.
After installation do not walk on the surface before the adhesive is completely hardened.
Depending on its application, the flooring could be coated with a sealing lacquer. Generally speaking, the material should be coated when flooring is used for indoor areas, with no violent shocks expected.
Make sure the surface is clean and dry before applying.
Do not walk on the sealed floor before the sealing material is completely hardened.
Download this installation instruction PDF for printing or keeping
Shipping all across Canada
2930 Boul. le Corbusier, Laval, QC H7L3M2
©Syn-X 2024. Synthetic flooring experts.