Instructions how to install sports court tile flooring yourself, DIY sports court installation
Sports+ is a suspended tile surface attached together with a special latching mechanism that snaps together easily. If you want to install sports court tiles yourself, please follow the guidelines below to ensure a a trouble-free installation, and to extend the life of your product.
Professional installation
Too complicated? We can do it for you. Ask for a free quotation for your sport court installation:
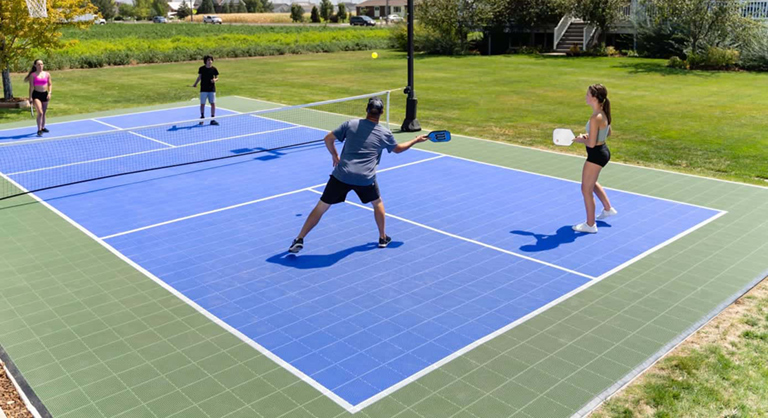
Suitable for Pickleball court, tennis court, basketball court and shuffleboard court.
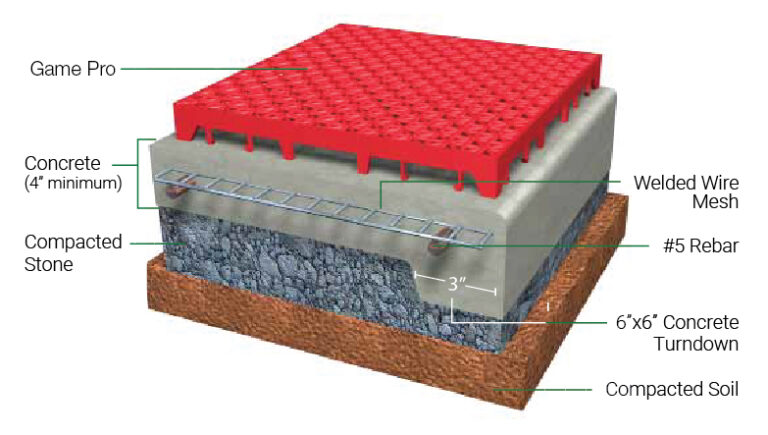
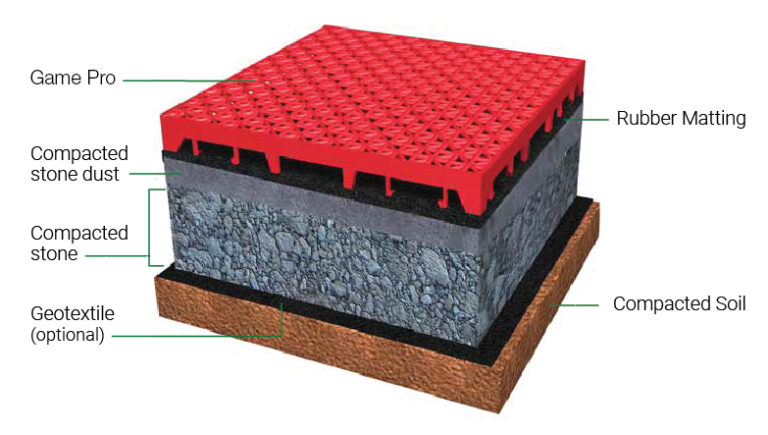
GAME PRO tiles
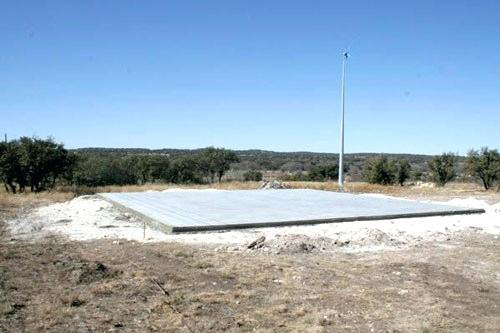
Over compacted 0-¾ stone base
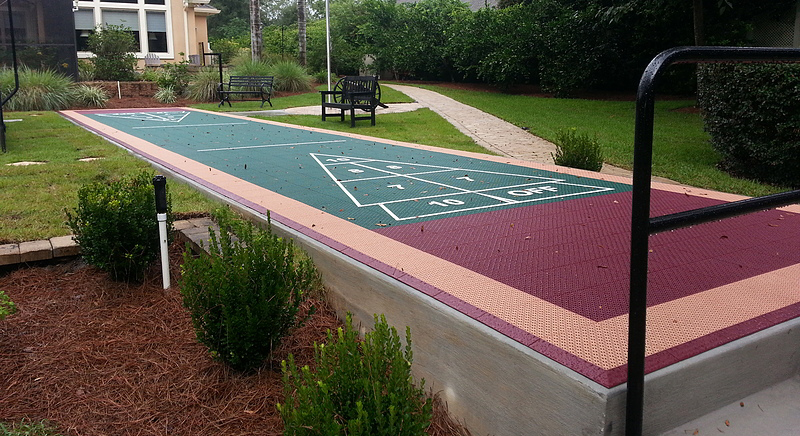
Suitable for basketball court and shuffleboard court only.
Things to know
About the game pro tile
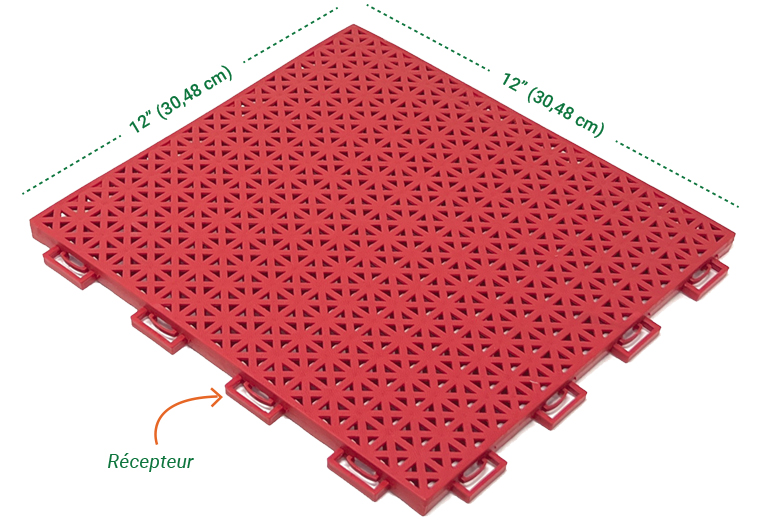
A Sports+ GAME PRO court is made up of tiles, each measuring 12” square. These tiles are connected by a simple, but precise interlocking mechanism. The picture shows the 2 post sides, hidden are the receiver sides of the tile.
Expansion
Sports+ tile is a polypropylene plastic floor, which expands and contracts with temperature changes. A 100’ floor can expand 2” on both sides lengthwise when the weather warms up to 100°F (37°C).
For this reason, it is important that the tile be trimmed at least 1/2” from any stationary object such as a goal post or fence post.
Subsurface preparation
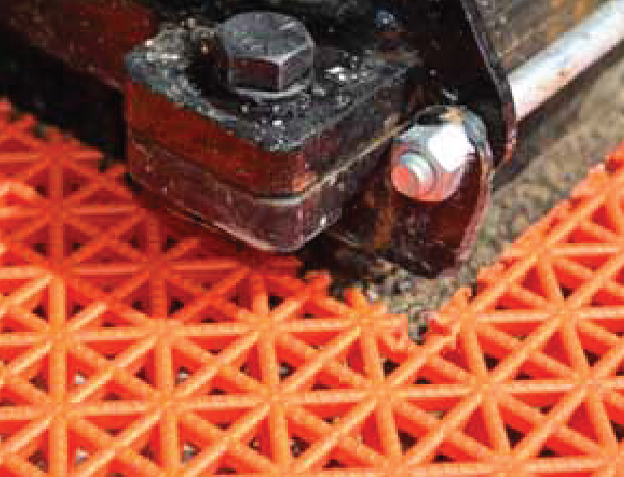
It is important that the surface of the substructure enables the Sports+ Game Pro tiles to expand and contract. Asphalt, being oil based and rough, is inherently slippery and makes a very good subsurface, as well as a rough (medium broom) cement finish. If the tiles expand without being able to slide, it will start to buckle in various portions of your court.
Sports+ Game Pro tiles can be laid over structural cracks (no wider than 1/2”) in the subsurface. Sharp cracks should be facetted or rounded so that the ball bounce is consistent and the tiles don’t “catch” when the floor expands and contracts.
Before you begin
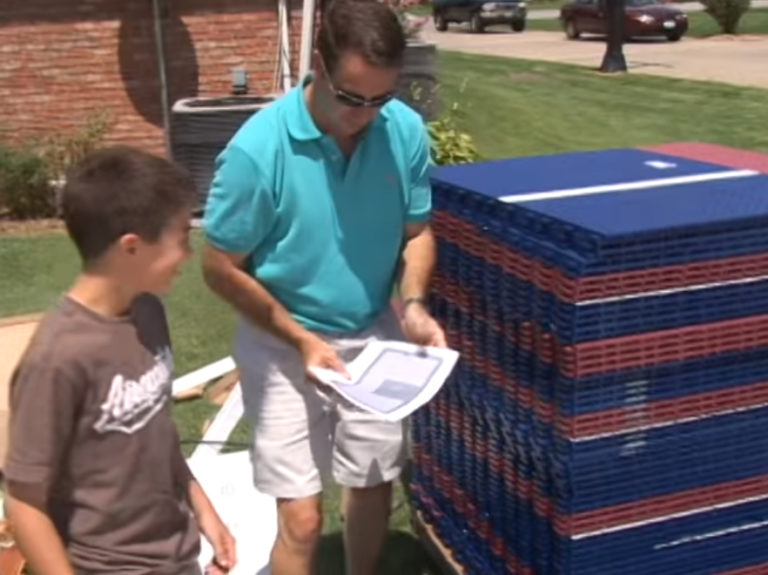
1. Review your packing slip and verify all materials are included and have not incurred any damage during shipping.
2. Review your custom, numbered court layout document found in your Sports+ Installation Packet.
3. Confirm your base is ready for court tile installation and relocate your pallets to the install site.
4. Unpack your tile pallets, remove and discard the plastic and cardboard wraps.
Sports court tiles installation steps
Previous slide
Next slide
Step 1
The easiest way to install Sports+ GAME PRO tiles is to start in one corner with the post end of the tiles facing to the right and down; or in a more basic description “pointing towards the corner”. Locate Panel #1 on your diagram and find panel #1 of your tile and simply lay the tile into place.
Do not snap your tile together on this step. Lay each panel of tile next to each other until your court is fully laid out. You will snap your tiles together in Step 4.
Step 2
Locate Panel #2 and lay into place, continuing in numerical order moving across your diagram until all panels are in place.
Previous slide
Next slide
Step 3
Step back and visually inspect to ensure sure your sections are in their proper place. Make sure the basketball lane lines up with your goal, as well with any tennis lines, logos and other lines matching your diagram, etc.
Previous slide
Next slide
Step 4
Snap your tiles together. Starting with #1 and move across your court in the same order you laid the tiles down. By gently stepping on the seams, starting at one corner, the post ends are pressed into the receiver ends for a strong hold.
DO NOT USE EXCESSIVE FORCE! THIS WILL CAUSE DAMAGE TO THE SPORTS+ GAME TILES.
Previous slide
Next slide
Step 5
Optional
Install the edges and corners (sold as an option).
Two types of borders are available: one for the receiver side, the other for the post side.
Previous slide
Next slide
Step 6
Remove all the numbered stickers and enjoy your new Sports+ court!
Courts kits
Basketball court kits
Sold in kits ready to install, easy to assemble and affordable: these basketball court kits are perfect for schools, public parks, or your own backyard! Sizes: from small to full pro.
Sold in kits ready to install, easy to assemble and affordable: these shufflebard court kits are perfect for schools, public parks, or your own backyard!