
-

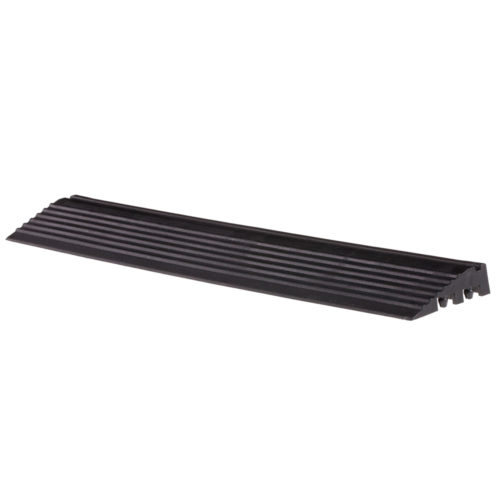
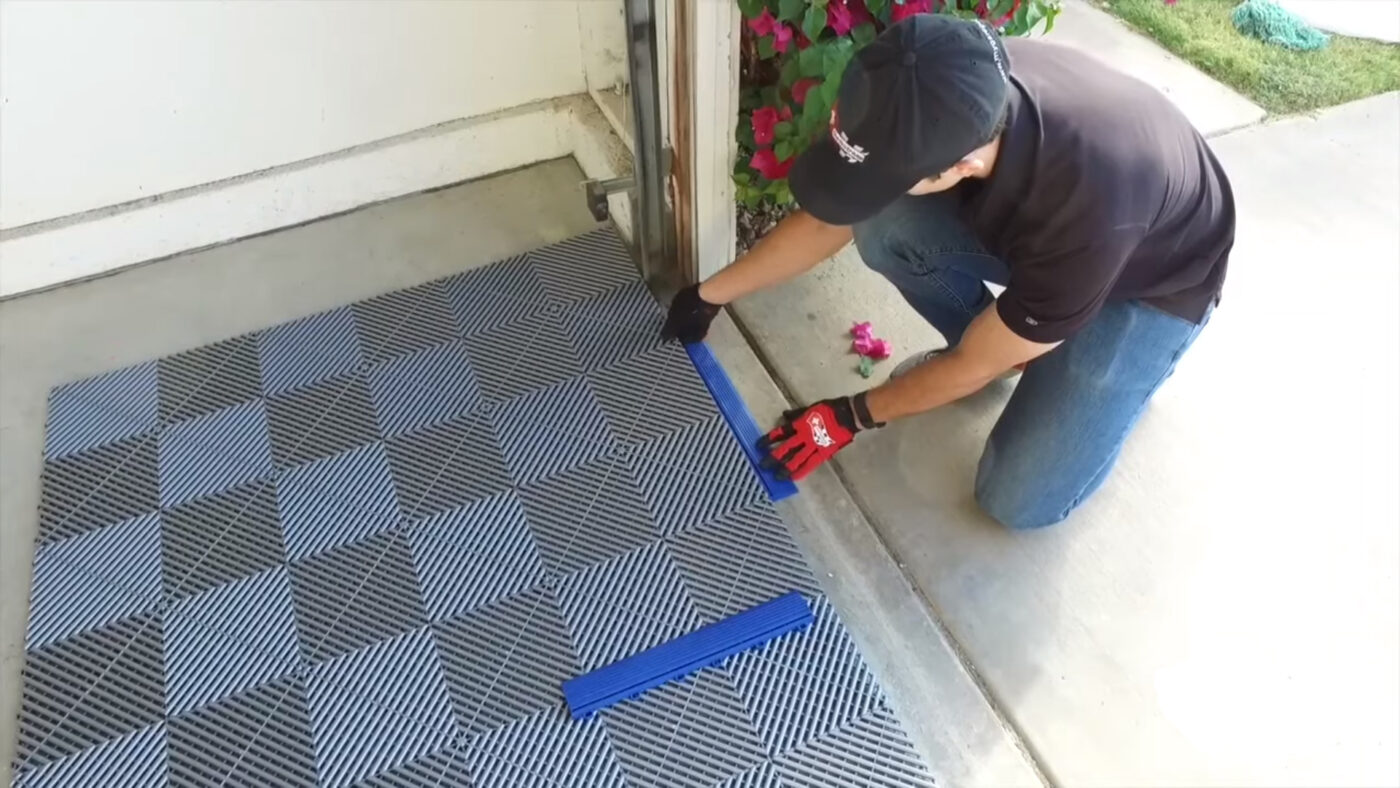
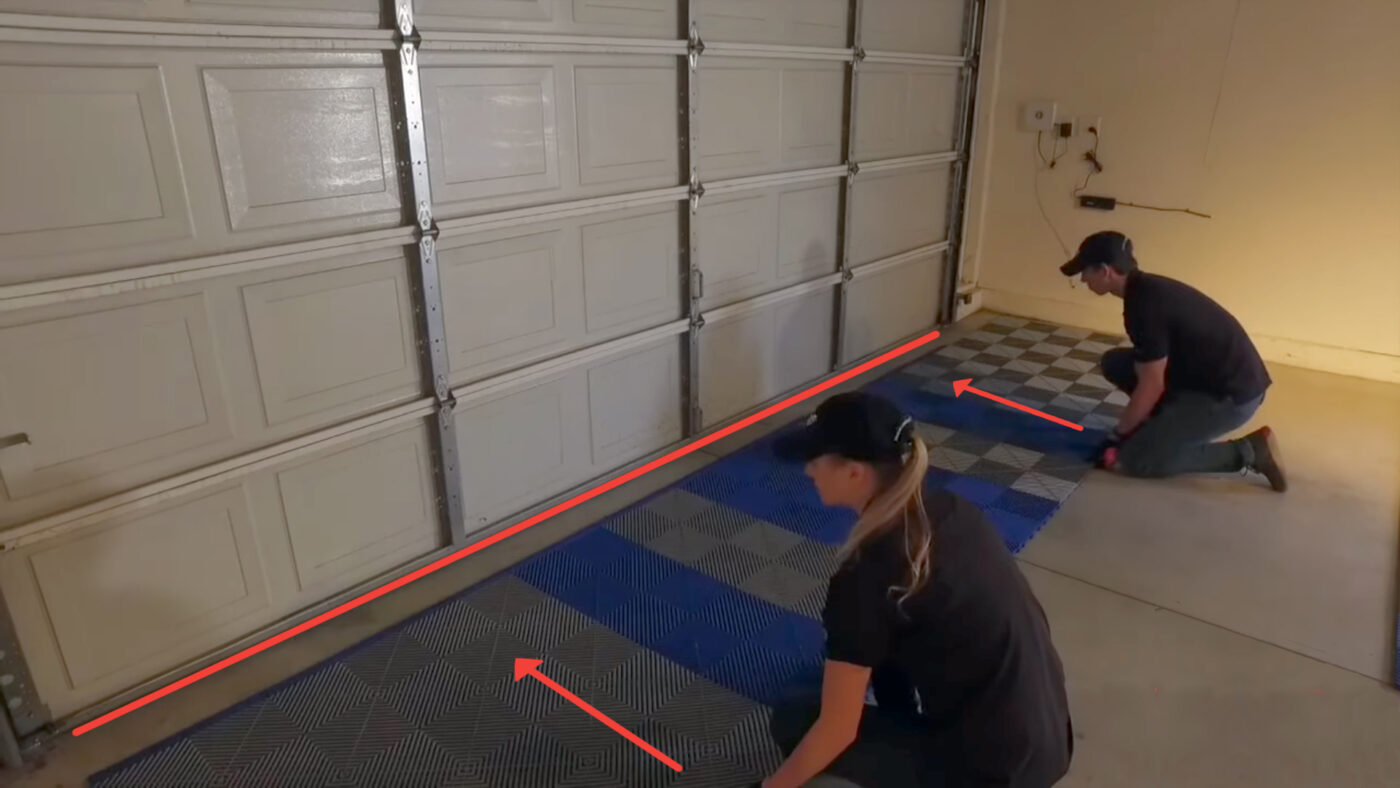
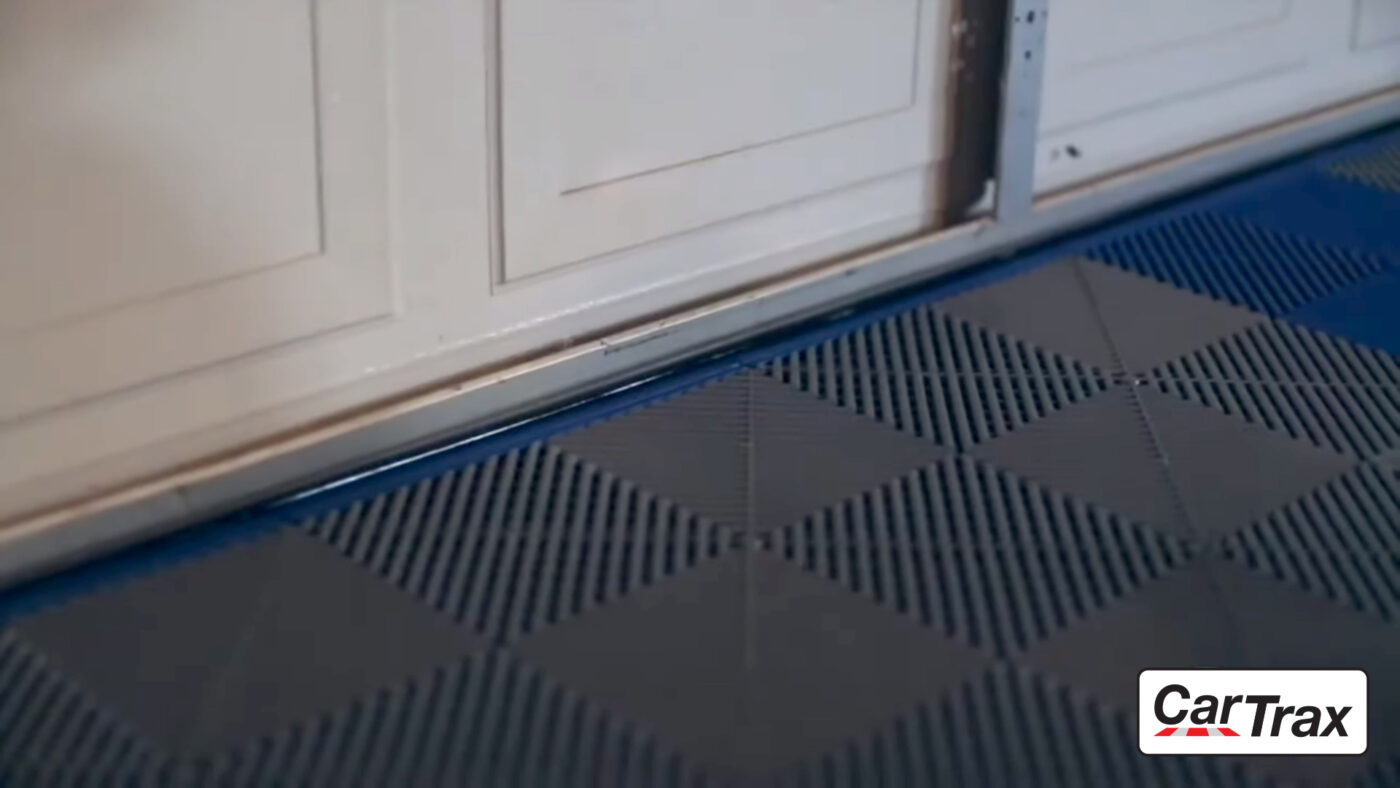
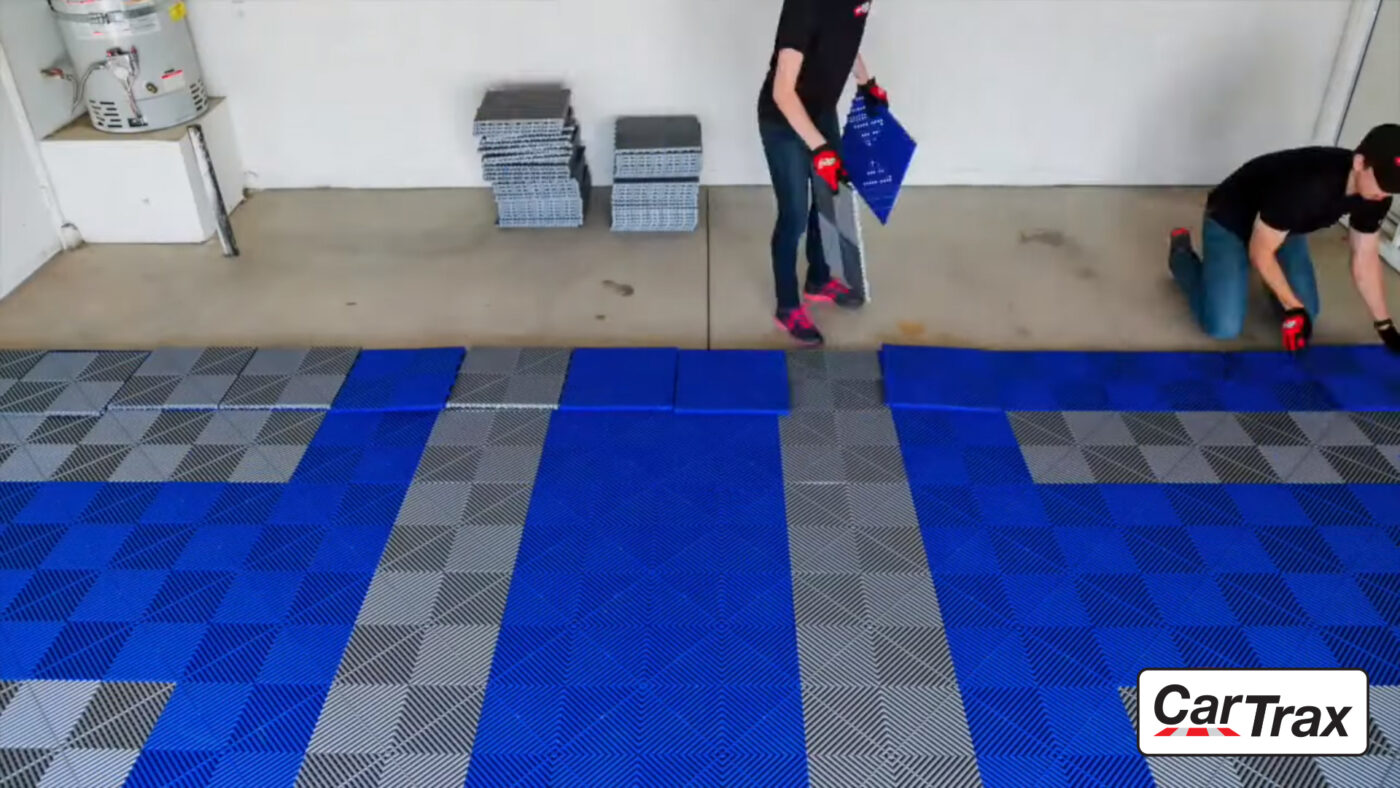
Cartrax rib garage floor edges – box of 6
36.00$ Select options This product has multiple variants. The options may be chosen on the product page -
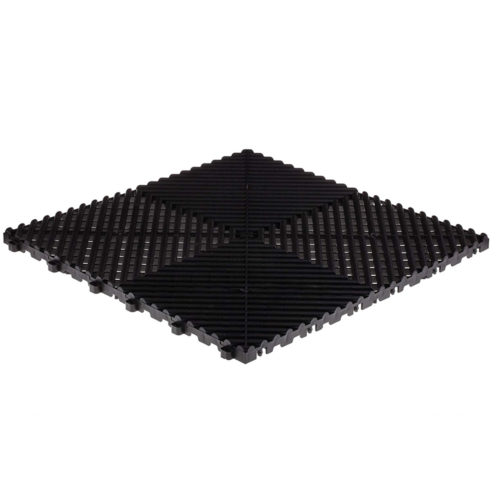
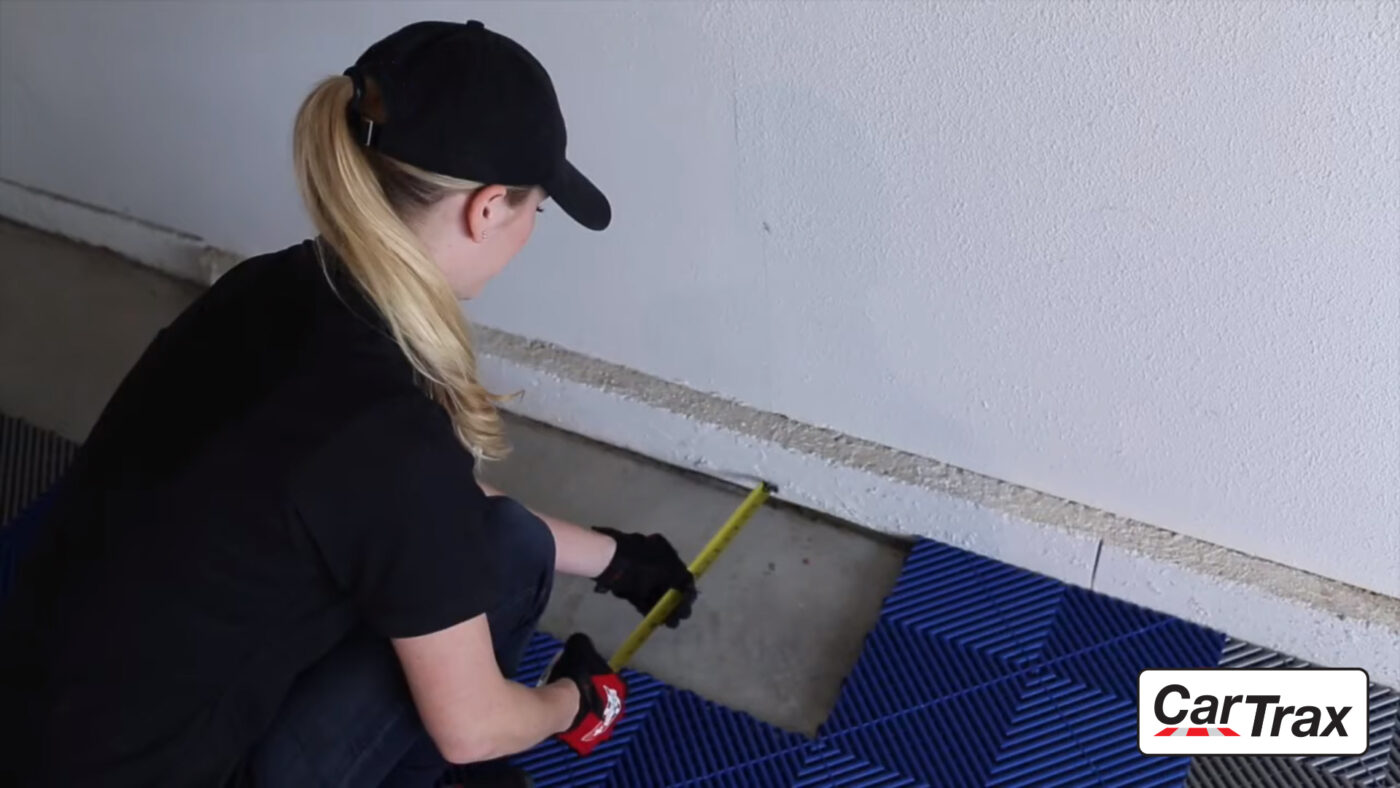
Cartrax rib garage floor tiles – box of 6
60.00$ Select options This product has multiple variants. The options may be chosen on the product page