Shipping across Canada

1-855-240-8873

Search
Close this search box.

Synthetic turf installation

Instructions how to install synthetic turf yourself, DIY artificial turf installation

If you want to install your synthetic turf yourself, please follow the guidelines below to ensure a smooth installation, and to extend the life of your product.

Professional installation

Too complicated?  We can do it for you.
Ask for a free quotation for your synthetic turf install:

Synthetic turf installation video

Synthetic turf installation steps

Previous slide
Next slide

Step 1

Prep the surface: remove old grass, excavate 4 inches deep.

Previous slide
Next slide

Step 2

Geotextile installation: mesure, cut, nail to the ground.

Roll of geotextile 3’x 100′ sold on our website

Previous slide
Next slide

Step 3

Fill with 3 to 4” of 0-¾ crushed stones.
Level and compact.

Previous slide
Next slide

Step 4

Add 1” rock dirt. Level and compact.

Previous slide
Next slide

Step 5

Unroll the piece of turf in the sun so that it recovers its shape.
Synthetic turf laying, cutting the edges on the back with an exacto.

Previous slide
Next slide

Step 6

Glue joints with Trylawnturf’s special glue and seam tape.

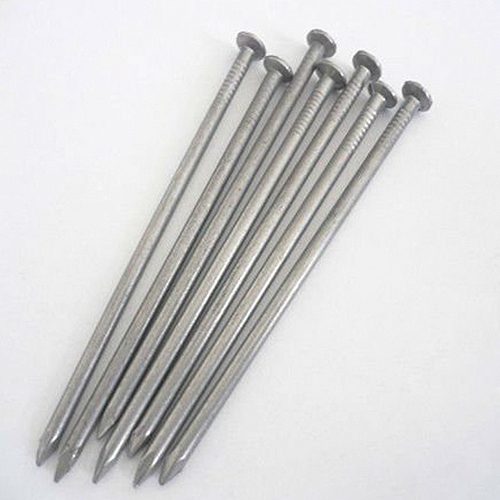
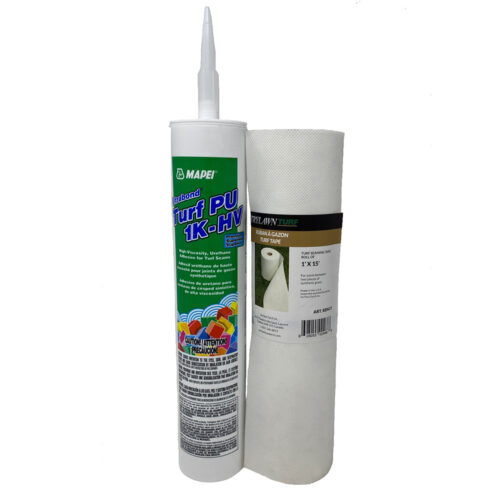
Install the seam tape under the 2 parts to be joined and nail it to the ground. Align the 2 pieces to be joined, and keep the same direction of the grass yarn. Install glue on the seam tape and spread with a notched trowel. Fold the 2 pieces over the seam tape and glue, and let dry

Previous slide
Next slide

Step 7

Nail down turf perimeter with non galvanized 6” nails, 6” apart.

Brush the entire surface of the lawn with a broom.

Recommended products:

Printable instructions

Download this installation instruction PDF for printing or keeping